How to Make Homemade Christmas Decorations

Make Your Own Christmas Decorations, Don't Buy Them.
Christmas is so much fun. If you can make some of the things you enjoy during the holidays, you will have a lot more fun. Christmas has become so commercialized and all about what you can buy for each other.
What if instead, you spend some time with your family and friends making things that all of you can enjoy. Some of what you can make can cost nearly nothing especially if you use things you already have in the house.
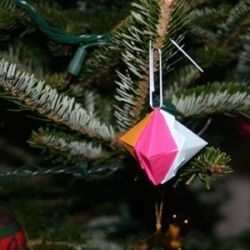
Take a look at the following and think about trying some of them with your family this Christmas. This first decoration is made from 3 post-its and a paper clip. You use your paper folding skills to make something that is pretty. Imagine an entire tree decorated with these origami decorations.
Step 1: Find Post-It Notes - I stole mine from several of my Co-Workers
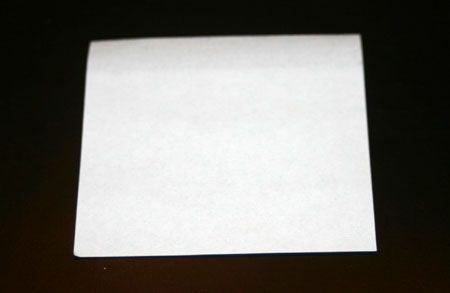
To make this little Christmas ornament, I used post-it notes. To make it more colorful, I used 3 different colors of post-it notes. I went around the office and found 3 different colors on my co-workers' desks. I sure hope they don't mind. Somehow I don't think they will.
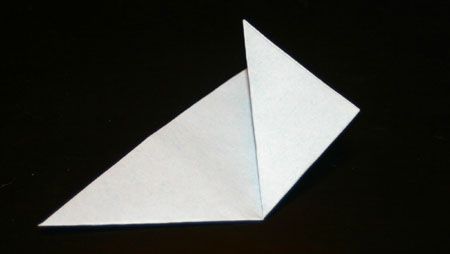
Step 2: Fold Corner to Corner - Make a Triangle
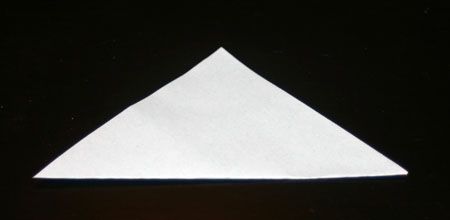
The first step is to fold the post-it from one corner to the opposite corner. Ideally you will want the sticky part to be on the inside.
Step 3: Make Two Triangles - Fold it Again
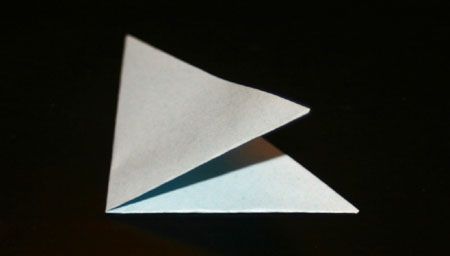
Next, fold the newly formed triangle in half. This will make a crease to prepare you for the next step.
Step 4: Corner to Top - Let's Turn Up One of the Corners
Fold the outside corners of the triangle up to meet the top corner. The bottom edges of the triangle should meet the crease you made in the previous step.
Step 5: Do it Again - Now Turn up the Other Corner
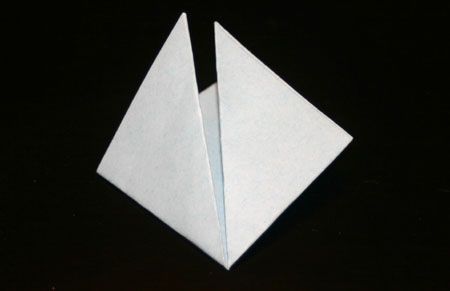
You should now have a diamond shape with two corners flapping at the top.
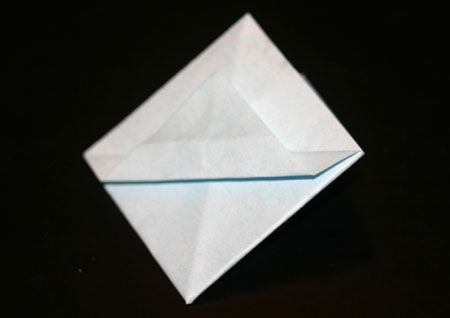
Step 6: Fold Back Down
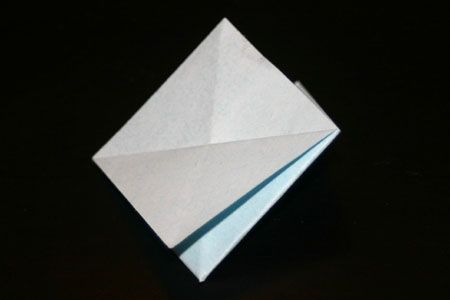
Turn the whole thing over and peel the top flap back. It will be sticky because of the post-it note.
Step 7: Half Way Up
Fold that same flap back onto itself where the corner meets the center of the diamond.
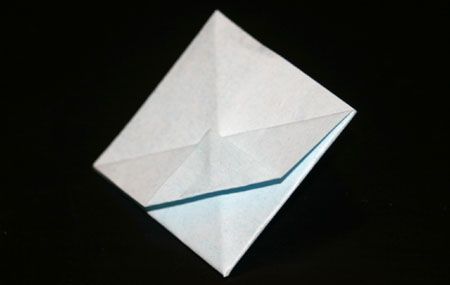
Step 8: Fold into Quarters
With the corner between you fingers, you pull the flap up to where the crease you made in the previous step meets the crease along the center of the diamond.
Step 9: Decorative Folds
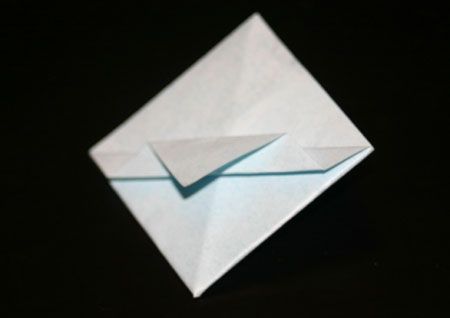
Now fold the corner back reversing the crease you made two steps ago.
Step 10: Last One
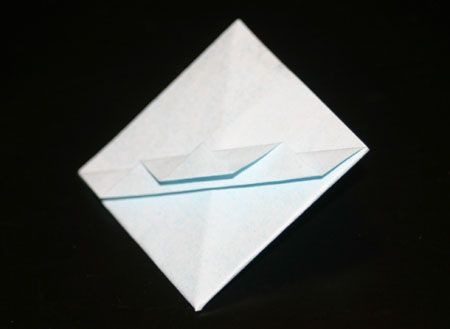
Again you will want to fold the flap where the corner once again meets the center of the diamond.
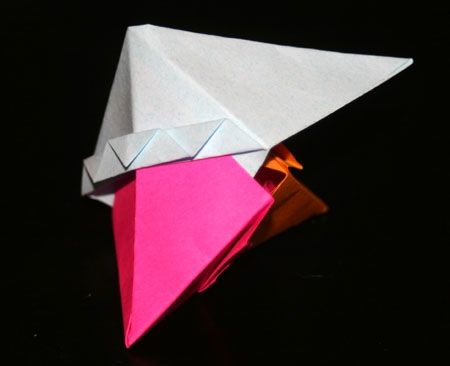
Step 11: Make Three of These Modules
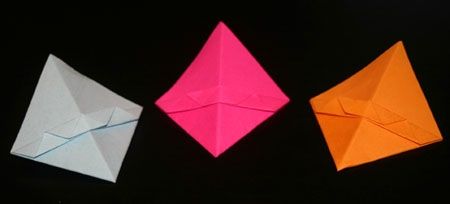
Now find the other two post-it notes and do the exact same thing to them. You should have three diamonds with an interesting pattern along the center of them and two flaps on the back of each. Again different colors will make fore a more interesting ornament.
Step 12: Slide Them Together
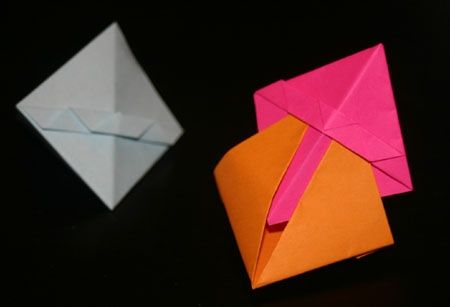
Take the two flaps of one of the diamonds and slide them under the design of the second diamond. The flaps should fit snugly all the way to the point of the second diamond.
Step 13: Three Make One
The object is to get the flaps of all three diamonds under the designs of their neighboring diamonds.
Step 14: Find Some Paperclips
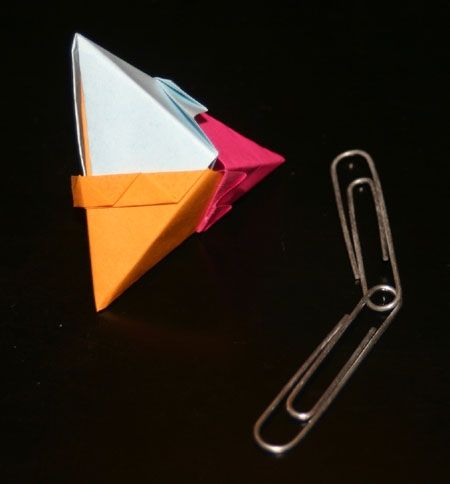
Once you get them all together, they should look similar to the image below. Find two paperclips and link them together. This is what we will use to hang your ornament.
Step 15: Finished Ornament
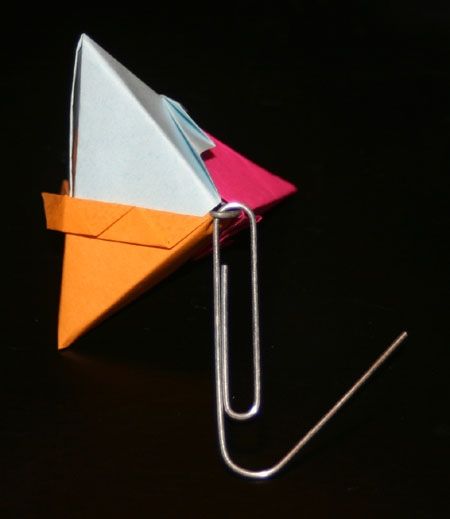
Loosen the diamonds just enough to get one of the paperclips into the shape. The paperclip that is outside of the shape should be bent just enough to make a hook.
Step 16: Hang it on the Tree
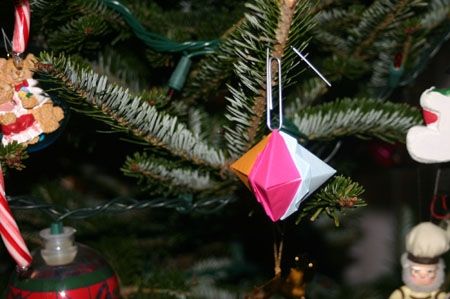
Now you are ready to hang them on your tree or your neighbors' cubicle. If you have enough time on your hands, make 100 of them and hang them all over your boss's office. OK that might go a little far, but it's a thought.
You can use those price tags on a string if you can find them in the store. As for me, the paperclips work great for an ornament that will most likely only make it though one Christmas.


